
Add networks to Metamask
Even though there are many wallets to choose from, we recommend Metamask for the best experience.
In this brief guide, we'll show you how to set up your Metamask wallet to work with any of the networks compatible with DiamondSwap. By the end of this overview, you'll learn how to add any network to your wallet and have the tools needed to make seamless transactions.
Chainlist
To simplify the process of adding a new network to your wallet, we recommend using Chainlist. Let's get started!
-
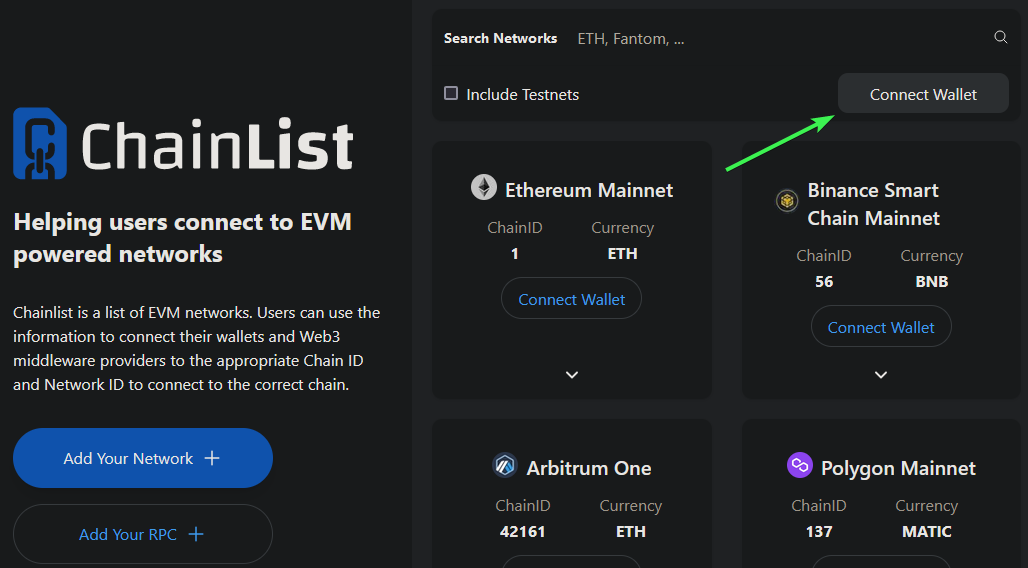
Go to Chainlist
-
Click 'Connect Wallet'. Upon receiving the wallet notification, click the 'Connect' button.
-
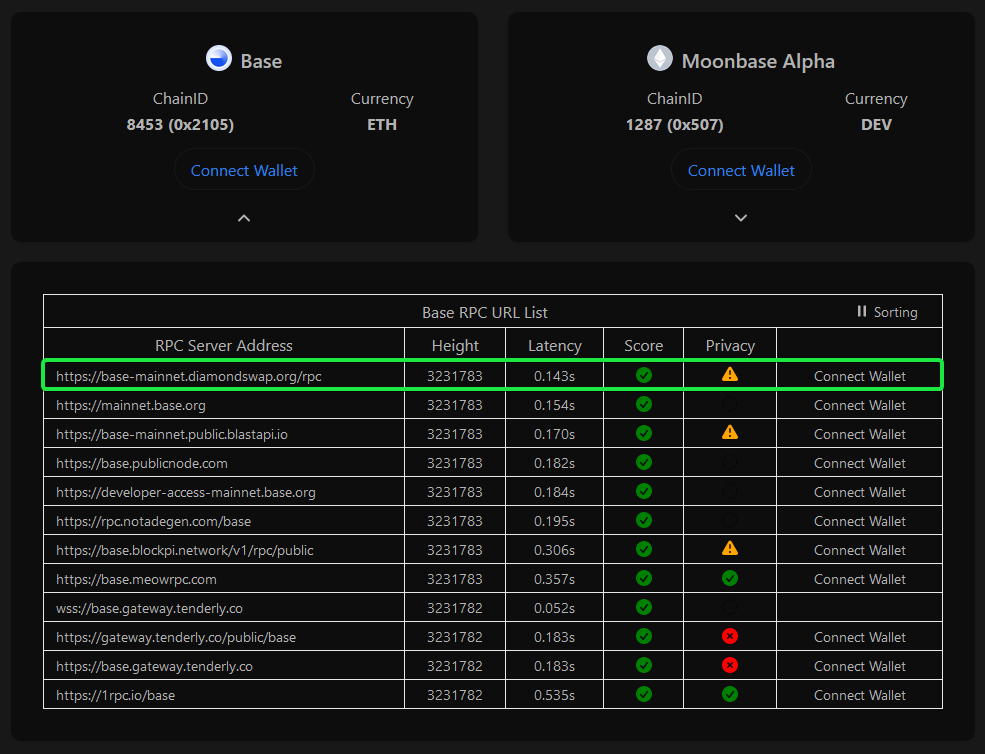
Locate the network that you want to add. DIAMONDSWAP provides load-balanced, dedicated RPCs on all networks that we support. We highly recommend you use our DIAMONDSWAP RPC link. Simply navigate the drop-down arrow to find the node with our RPC link and click the 'Connect Wallet' button!
-
Next, you'll need to approve the addition of the new network in your wallet. To do this, simply follow the prompts in your wallet and click 'Add' or 'Approve'. Once the network is added and approved, you're ready to start using DIAMONDSWAP on the new network. Happy trading!

Manual Network Addition
You can manually add networks to your wallet if you prefer not to use Chainlist's website. Follow these steps to add a new network:
-
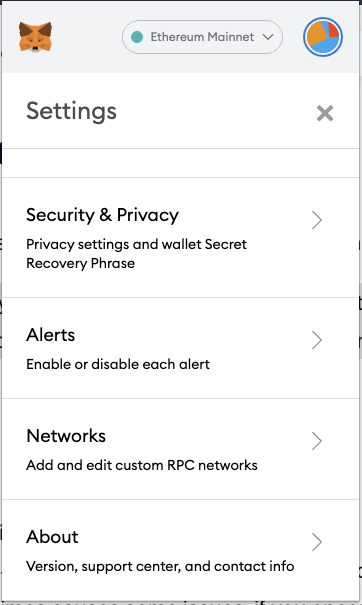
Click on the 'My Account' button/icon in the top right corner, select 'Settings', then select 'Networks'.
-
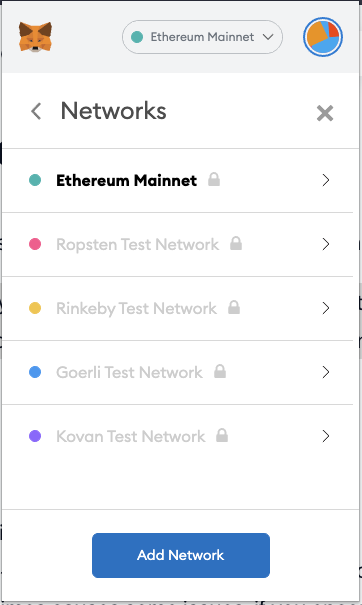
When you are inside the 'Networks' page, click on 'Add Network':
-
When you're in the add network page, enter the following information:
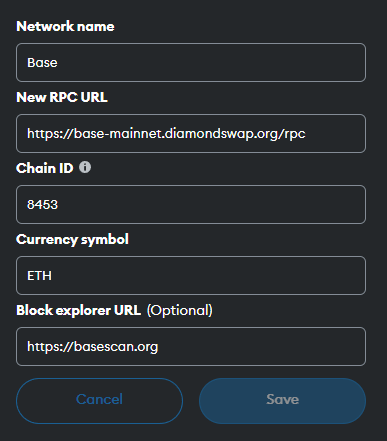
Base Mainnet Example
- Network Name: Base
- New RPC URL: RPC URL from chainlist
- Chain ID: 8453
- Currency Symbol: ETH
- Block Explorer URL: https://basescan.org/
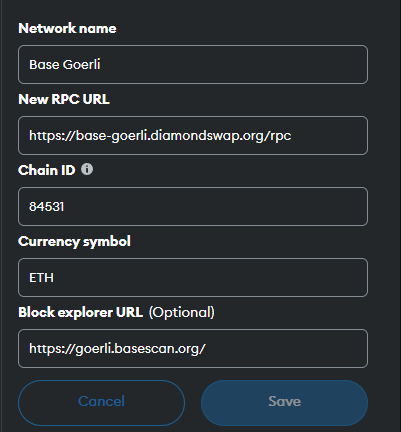
Base Testnet Example
- Network Name: Base Testnet
- New RPC URL: RPC URL from chainlist
- Chain ID: 84531
- Currency Symbol: CRO
- Block Explorer URL: https://goerli.basescan.org/
Updated 9 months ago